Linux Series: Getting Started With Linux On Windows 10/11 | 2023 - WSL2, VMWare & Booting USB

Coder 💻 | Web-Development🌐 | Learning DSA 📙 | Open Source Contributor 🟩 | Documenting my Journey 📄 | Technical writer ✍️ | Public Speaker 🎙️ | Networking & Collaborating 🤝 | Always Open to Opportunities🚪|
Overview
Hi everyone, whoever is looking for installing Linux onto their systems. Whether you are coming from Windows to Linux, Want Linux on Windows, or Want to dual-boot your computer with Linux.
I will walk you through 2 Processes of Linux installation, for 3rd I will give you links to refer to, as I have never installed it in that manner.
3 Ways Of Using Linux In Windows Machine?
WSL2 (Windows Subsystem For Linux)
People who are wondering, what is WSL? Is it for me? So, first, let's solve your doubt.
So people, who want Linux on their Windows Systems, cannot have Virtual Machines on their Systems or want to work with the Command Line Interface of Linux. So, this complete process is for you.
Let's go through the complete process of how to install WSL into your windows PC.
Complete Installation Process
Step - 1: Open Windows Command Prompt or Powershell in administrator mode.
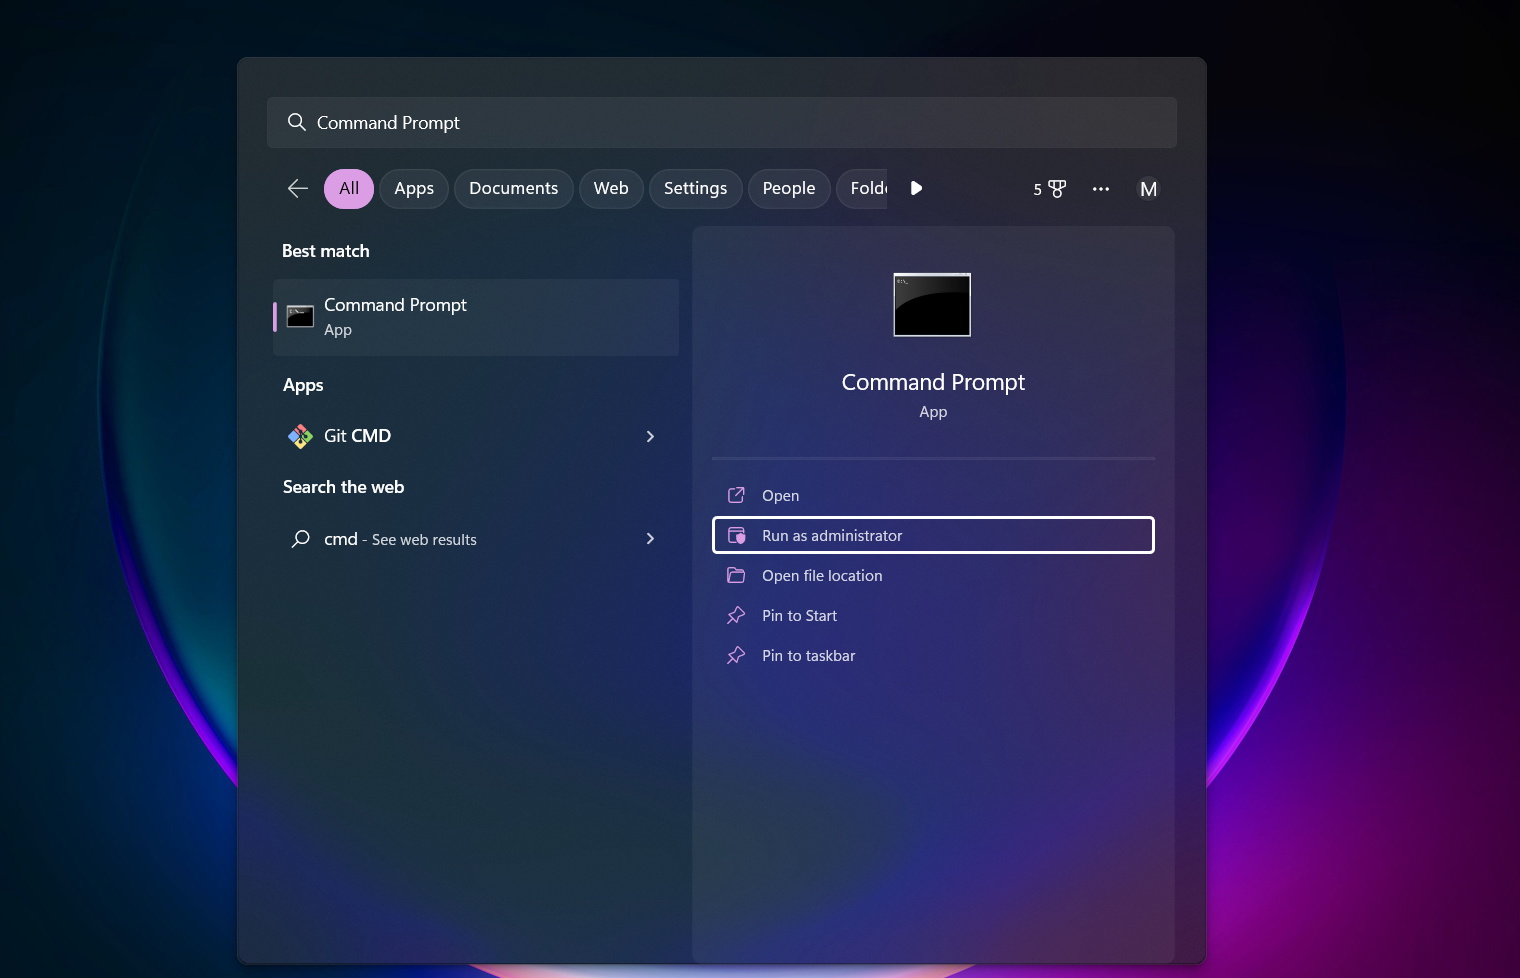
Step - 2: Then a prompt will open, press yes.
Step - 3: First go through all the available versions of Linux, using this command,
wsl --list --online
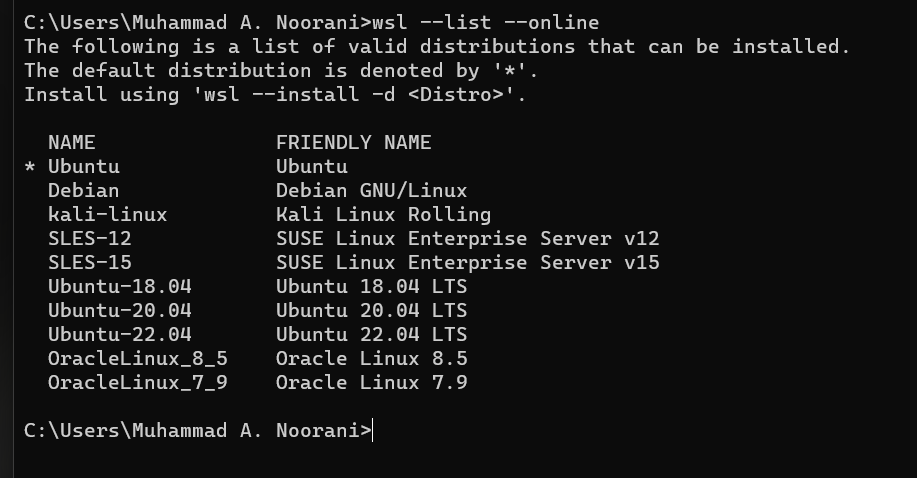
Step - 4: First analyze all the versions, if you don't have any idea about them then go with any that you like and install it. After you get somewhat familiar, then go for the version you want.
I will recommend Ubuntu, if you are beginning your journey with linux. As Ubuntu is a very nice blend between Graphic User Interface(GUI) and Command Line Interface(CLI).
Step - 5: Go through the prerequisites for installing WSL,
- You must be running Windows 10 version 2004 and higher (Build 19041 and higher) or Windows 11 to use the commands below. If you are on earlier versions please see the manual install page.
Step - 6: Now, here I will be showing you how to install Ubuntu, the default distribution. The command for default installation is,
wsl --install
OR
Step - 6: To install other versions of Linux, use this command to do the following,
wsl --install -d <DistroName>
Step - 7: Congratulations your WSL is installed.
Step - 8: Now, you need to restart your machine.
Step - 9: After restarting, automatically a command prompt will open, with Ubuntu written on the top.
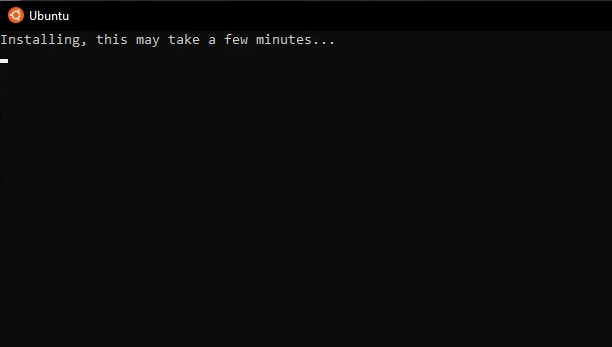
Edge case: Many times, installation gets stuck, so just press the enter key. It will finish.
Step - 10: Now, It will ask you to enter your username and Password.
Step - 11: Congratulations, your Ubuntu is set up on your windows machine. You can use it like a Linux machine, however, you want it to be used.
VMWare & Virtual Machine
Using a VMWare and Virtual Machine is a combination of GUI and CLI.
It is a complete Linux machine on your windows through a Virtual Machine, so this is the best way to get Linux on Your Windows System.
Complete Installation Process
- Ubuntu Installation
Step - 1: Go to www.ubuntu.com
Step - 2: Click Developer

Step - 3: Click Develop with Ubuntu
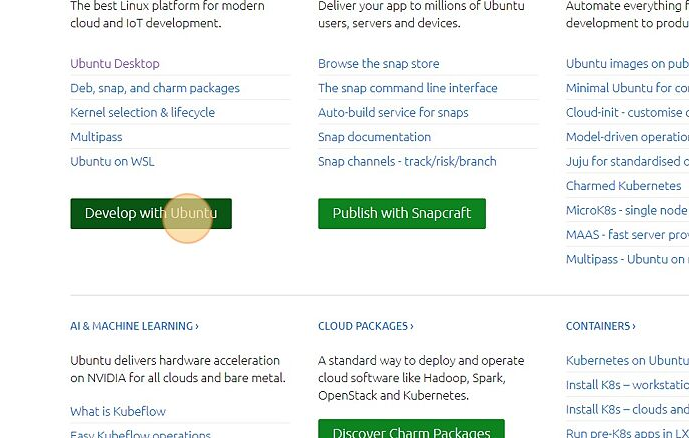
Step - 4: Now, click get Ubuntu now
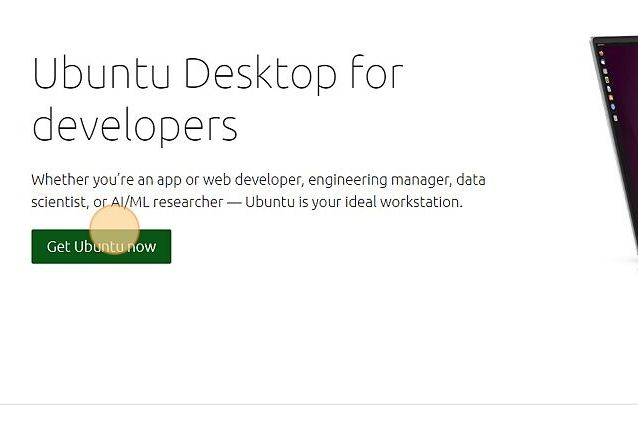
Step - 5: Download Ubuntu 22.04.1 Version, this is the default version.
- VMware Installation
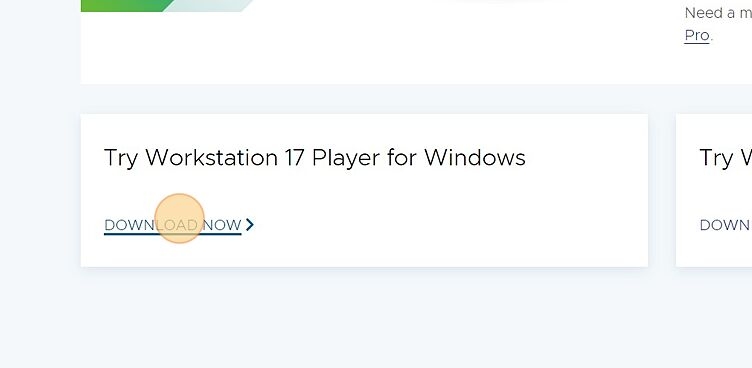
Step - 1: Go to this link: https://www.vmware.com/in/products/workstation-player/workstation-player-evaluation.html
Step - 2: Click Try workstation 17 Player for Windows.
- Setting up your Virtual Machine - Complete Process
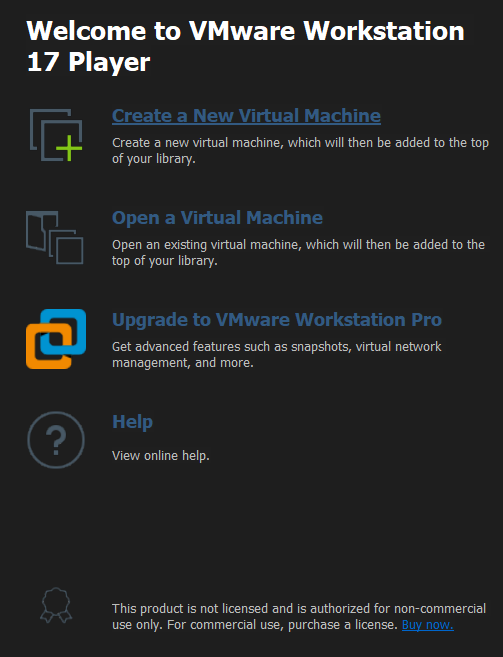
- After downloading VMware and Ubuntu, now open VMware and follow the below steps.
Step - 1: Click create new Virtual Machine
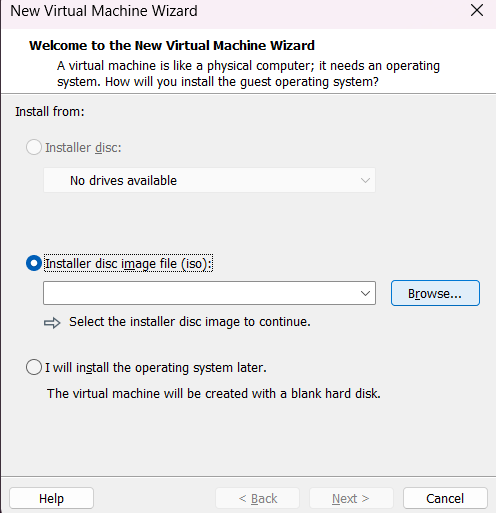
Step - 2: Now, you have to insert your installer disc image file(iso), It is the file of Ubuntu we downloaded.
Step - 3: It will ask you for your details, fill them.
Step - 4: Now, the main part is Specify Disc Capacity.
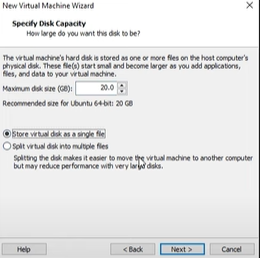
It is better to assign, 50-60 Gb of your disc space. It will be good to go, it is completely your choice. Do your research and then give your disc space.
Step - 5: Now, assign your memory space, from your Ram.
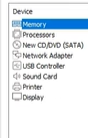
It is ideal to assign 4 gb ram to your virtual machine, if it has total of 8gb ram. I have 16gb Ram, yet assigned 4 gb Ram. Do your research and then assign your memory space.
Step - 6: On the memory page there are some other customizations, so you go through them accordingly.
Step - 7: Now, click finish and your Ubuntu VM will start.
Step - 8: Click on Normal installation, it is up to you if you want to go with minimal installation.
Step - 9: Now click, Download updates while installing Ubuntu.
Step - 10: Click Erase disc and install Ubuntu and further enter your other details.
- Congratulations now your Ubuntu is set up.
Booting Linux In A USB
If you're looking to set up a dual boot system with Linux, you've come to the right place. Booting Linux from a USB remains the same, but dual booting might be a new concept for some.
To ensure you have all the information you need, I won't explain it here. Instead, I'll provide a link to a more comprehensive guide at the end of this blog.
What If You Want To Use Some Other Distribution?
You can install any Distribution of Linux.
The process remains the same, in VMware we added the iso file of Ubuntu, similarly for other distributions, add their iso files.
Some important links 🔗, you can refer to for more details,
You can find me on these platforms 🤝 :
After reading this blog, give your reviews and feedbacks for more improvements.